VMware vSphere: Running FSCK from a boot ISO
 Backup warning
It is recommended to always verify there is a backup of the server beforehand because a fsck can occasionally break a filesystem that is already very damaged causing it to no longer boot
In any event as a fsck can make things worse then it's our fall-back option. Additionally also please remember to NEVER do a fsck on a mounted partition.
Why
If you find a Centos 7 VM, maybe others, in a read-only state and you are unable to run an fsck this guide is for you. The fsck tools in centos 7 are outdated and do not work with the ext4 feature metadata_csum (even though support was added to the linux kernel way back in 2012 initially and considered stable with kernel 3.18 in December 2014)
So we need to use a newer version which is available from newer distributions. So to work around this dumb shortcoming we use an AlmaLinux ISO since it has newer tools.
This common error is seen
[root@host ~]# journalctl --boot | grep -i fsck
Oct 26 07:52:13 host.vm1.muji.com systemd-fsck[465]: /dev/mapper/centos-root has unsupported feature(s): metadata_csum
Oct 26 07:52:13 host.vm1.muji.com systemd-fsck[465]: e2fsck: Get a newer version of e2fsck!
If you just need to run an offline fsck this is also the wiki for you
You can also check for the existence of the metadata_csum flag from the filesystem as well like this. Assuming the root partition is /dev/mapper/centos-root. If not update it accordingly. If you don't see metadata_csum then this issue doesn't apply as the flag is not enabled.
dump filesystem info
$  dumpe2fs /dev/mapper/centos-root | grep -Eo 'Filesystem features:|metadata_csum'
dumpe2fs 1.42.9 (28-Dec-2013)
Filesystem features:
metadata_csum
Make sure the Global Templates Datastore is attached
Global Templates
If it is not attached. Complete the section Adding the Global Template Datastore from VMware vSphere: Attaching Global Templates and Registering Templates
Otherwise you are okay to proceed to the next section
Attaching an ISO to a VM and booting to it
Mount the ISO to the VM
Select the VM in the left column like normal. Then Edit Settings in the VM Hardware section

Then open the section for CD/DVD drive 1

Next change the dropdown from Client Device to Datastore ISO File.
It will prompt you to select a file. Choose Global Templates, ISOs, Linux, AlmaLinux-8.6-x86_64-minimal.iso

Choose OK when you have it selected, then Connect at Power On

Next select VM Options and open Boot Options. Select Force BIOS setup

Then select OK
Next power on the VM
BIOS BOOT MENU
This is to check the server will boot from CDROM first instead of Hard Drive. It should be the default but in case it's not booting from the CDROM it's good to always check
You should see the following. If it is not change it to match then hit F10

Boot to ISO
When the CDROM/DVD boots up you will see a screen like this

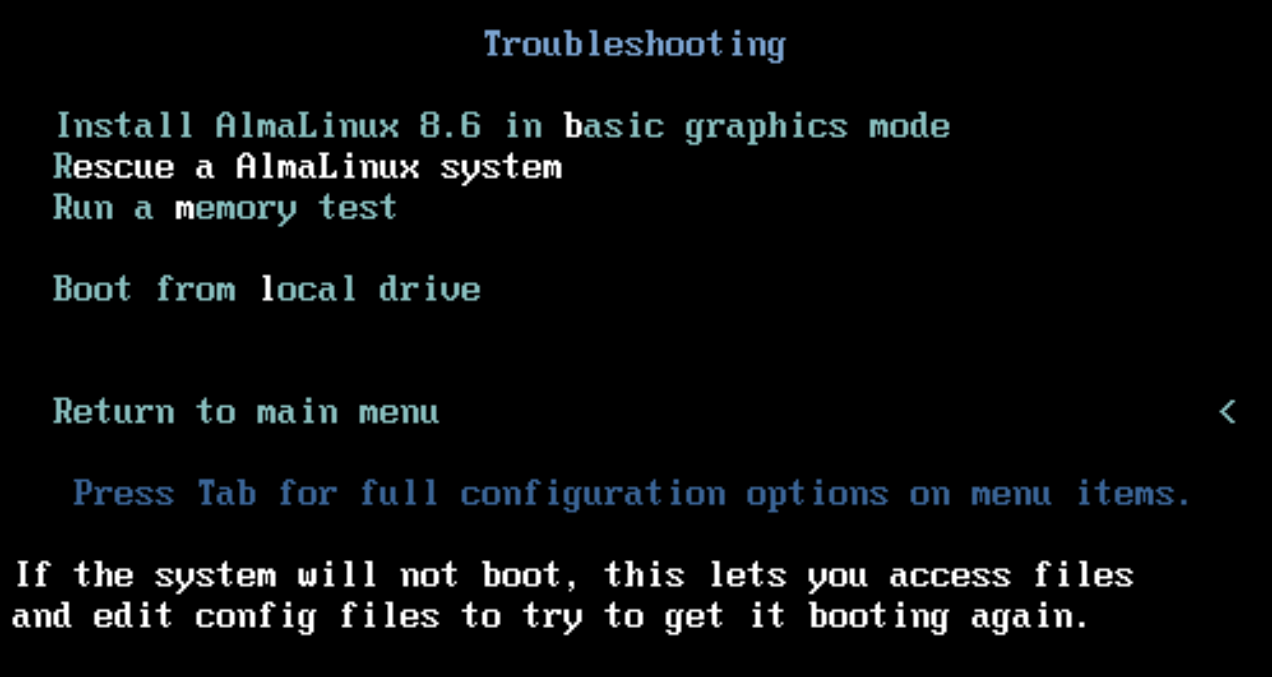
Make sure to select Troubleshooting and hit enter
On the next screen select Rescue a AlmaLinux system and hit enter
You'll see the normal linux boot screen until it finishes loading you'll see a menu like this

Enter 3 and press enter twice and it will drop you to the shell
Running fsck from recovery disk
Run fsck from ISO
You will want to select the "Troubleshooting" option, usually, upon booting to the Alma ISO. This will get you to a menu so you can enter a shell from the shell:
1. Usually we are using LVM so lets find the volume group
lvm vgscan -v
You will get something like 'Found volume group "centos" using metadata type lvm2'
2. Now make the volume group available to the kernel, change "centos" below if you need to:
vgchange -a y centos
3. Now you should be able to run the fsck like below, again replacing the path should you need to (note follow command only checks if it's flagged as dirty, it doesn't actually fix anything unless you add the f flag which isn't in this example):
fsck -Cv /dev/mapper/centos-root
During the fsck reply yes (just push enter) for all the Fix questions.
4. We need to disable the "metadata_csum" so centos 7 does fsck's going forward (This will be the root partition):
tune2fs -O ^metadata_csum /dev/mapper/centos-root
5. You should run the above on the boot partition as well, /dev/sda1 in most cases. If a repair is needed add the f flag to the fsck command. Below is an example of the entire process with auto-repair and the f flag in-place.
fsck -Cvfy /dev/mapper/centos-root
fsck -Cvfy /dev/sda1
tune2fs -O ^metadata_csum /dev/mapper/centos-root
tune2fs -O ^metadata_csum /dev/sda1
fsck -Cvfy /dev/mapper/centos-root
fsck -Cvfy /dev/sda1
6. Now we can power the machine off so we can disable the bios boot and detach the ISO.
Cleanup and Restart
1. After the VM is powered down, in the VCD go to the VM actions menu > Select Media > Eject media to detach the ISO
2. On VM page select "General" > Click edit > Deselect the "Enter BIOS Setup" > Click save
3. Restart the VM and this should get you back to a read write state
4. Check that there are no issues with the fsck on centos 7 with the below
journalctl --boot | grep -i fsck
5. If no issues are seen with the above the VM should be in a good state, fs wise.
Make sure the Global Templates Datastore is detached
Global Templates
Depending on the customers level of access this may need to be done as well